
1. Ensure Automatic Email Sync Is Enabled
Most email clients have automatic sync enabled so that you can receive emails without any delays. However, if you have sync turned off in the email app, you will stop getting emails on your Android phone.
You can check if this is why your emails aren't syncing by enabling the auto-sync option in your email app. The app should then automatically look for new emails and let you know when a new message arrives.
You can enable auto-sync from the settings menu of your email app. Here we show how to do it in Gmail, but the steps should be similar for most other email clients:
- Launch your email app, such as Gmail.
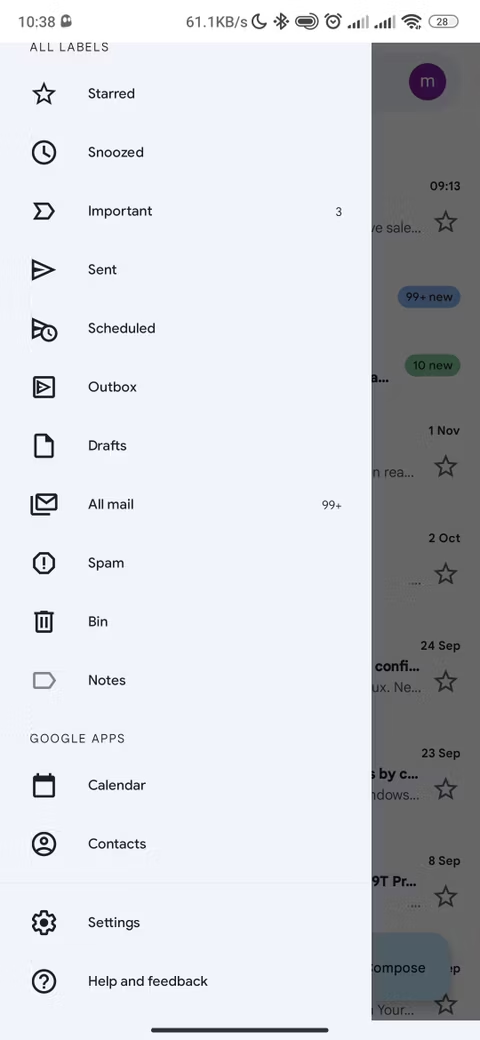
- Tap the hamburger icon (three horizontal lines) in the top-left corner and select Settings.
- Choose an email account, if you have multiple accounts on your phone.
- Scroll down and ensure the Sync Gmail or a similar option is enabled.
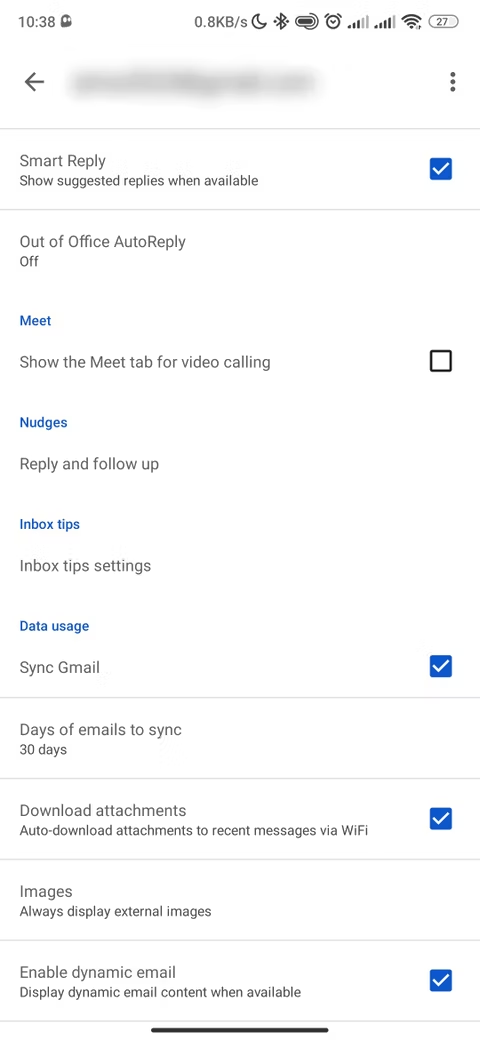
If Sync Gmail is enabled, check whether your device's Battery saver mode is on and turn it off. Battery saver mode disables background syncing. Alternatively, instead of disabling battery saver mode, open Gmail and tap Auto-sync is off to enable.
2. Perform a Manual Email Sync
If automatic sync won't work for some reason, your phone has an option to perform a manual sync. This forces your email app to sync, find, and download new emails to your device.
This option works just like the regular sync, except you must manually go into the settings and tap an option. Remember, precise steps vary from device to device.
To manually sync your emails on Android:
- Open the Settings app on your phone and select Accounts.
- Choose the email account where you have sync issues.
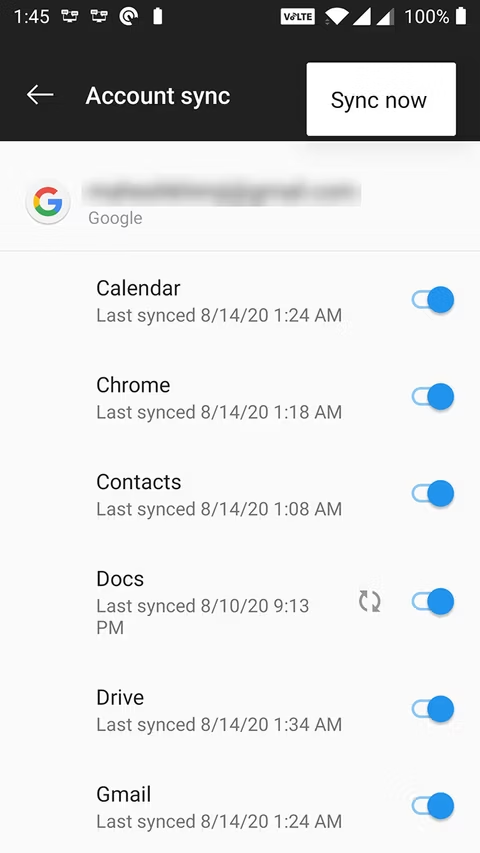
- Tap the Account sync option to view all features that you can sync.
- Tap the three-dots in the top-right corner of your screen and select Sync now.
- Your phone will begin to sync your data, including your emails.
- If any new emails are available, you should see them in your email client.
3. Clear Your Android Device's Storage
When your phone downloads an email, it takes up some space on your device's memory. If you're running out of storage on your phone, that may be why your emails aren't syncing (especially when trying to download an email with a large attachment).
Thankfully, you can fix this by deleting unneeded files from your phone as follows (specific instructions vary from device to device):
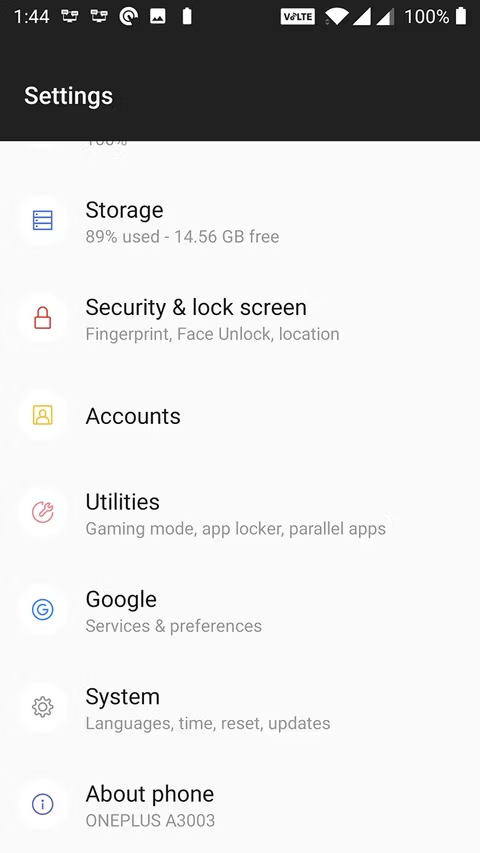
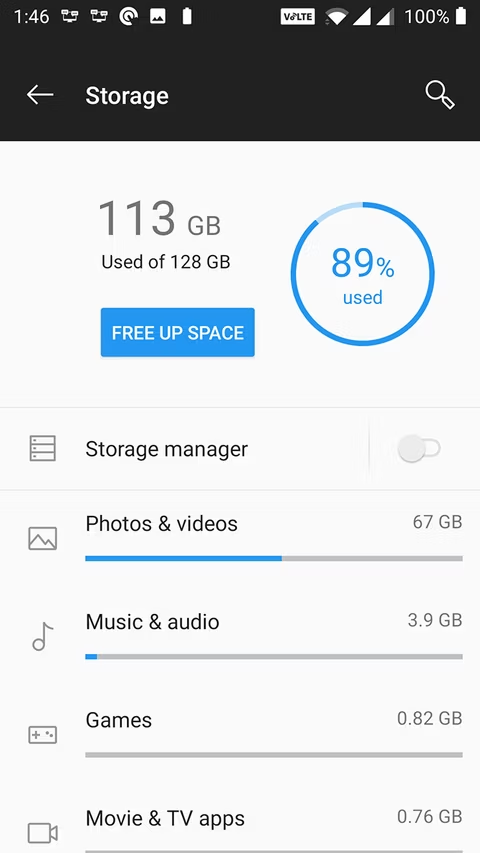
- Open the Settings app and tap on Storage.
- You'll see the total and available memory space on your device.
- Tap Free Up Space to find files that you can remove to make space on your device.

Not all Android phones have this option to find and remove space-hogging files. If yours doesn't you can use Files by Google to delete files instead.
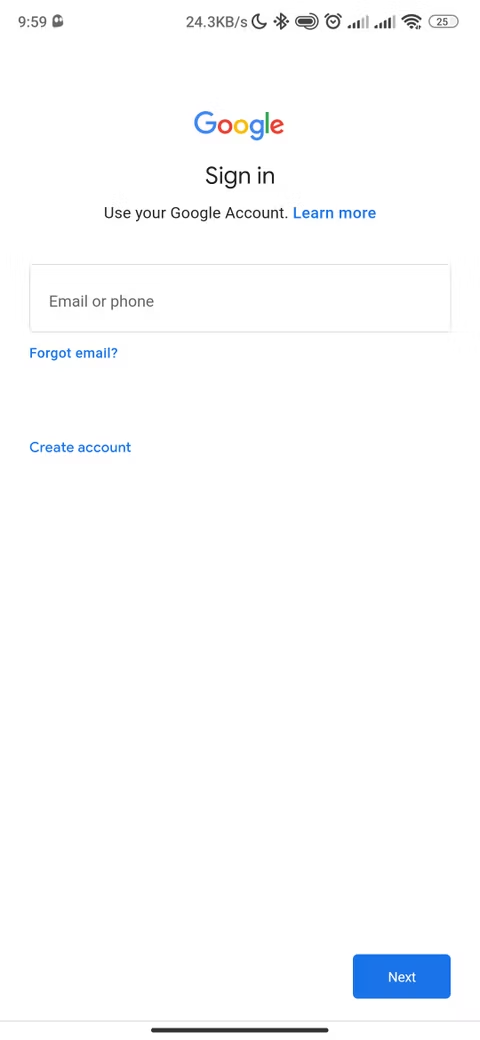
4. Ensure You Enter the Correct Password in Your Email App
When you change the password for your email account (ensure your password is secure and memorable), you must update it in the email app on your phone as well. If you don't do so, your phone won't be able to sync new emails, as it simply doesn't have the authorization to do so.
You can fix this issue by opening your email app and entering your new password. The app will then connect to the email servers and fetch new messages for you.
Remember to update the password everywhere else you use that account whenever you change the password.
5. Clear the Cache and Data for Your Email App
Like all apps on your device, your email app saves data and cache files on your phone. While these files don't normally cause any issues, it's worth clearing them to see if that fixes the email sync issue on your Android device.
Deleting data and cache files won't delete your emails; your emails are stored on your email provider's server. To clear the cache:
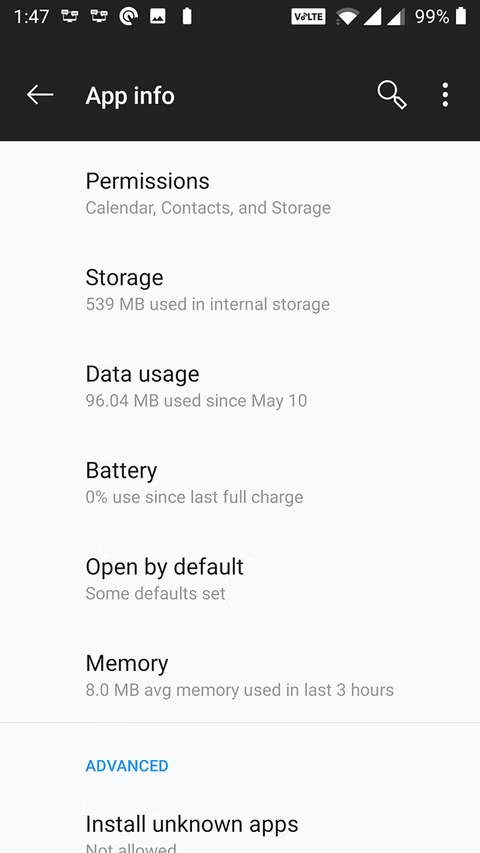
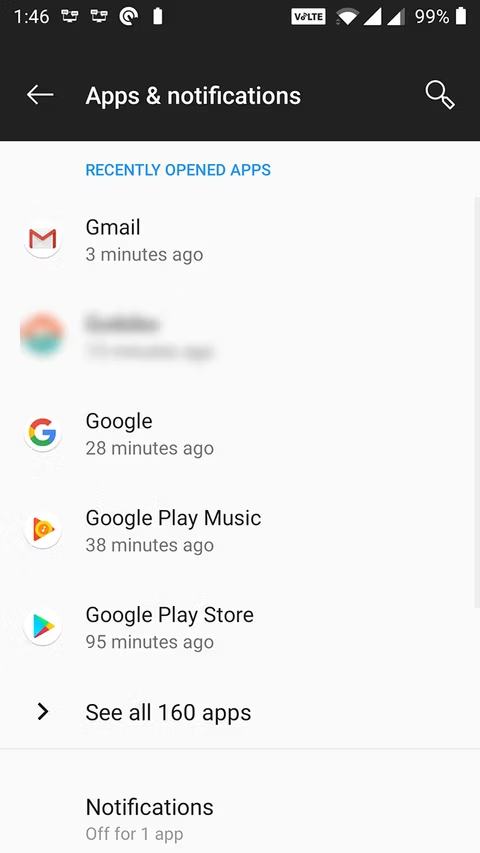
- Access the Settings app and tap on Apps & notifications.
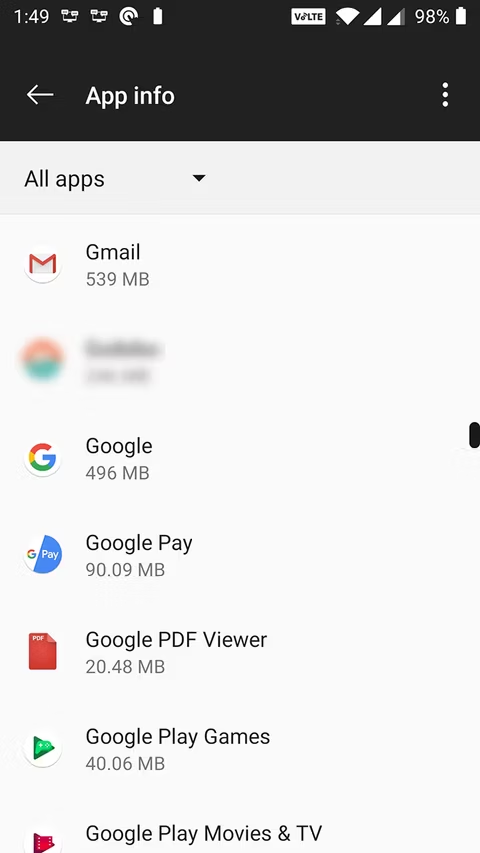
- Find your email app, like Gmail, and tap on it.
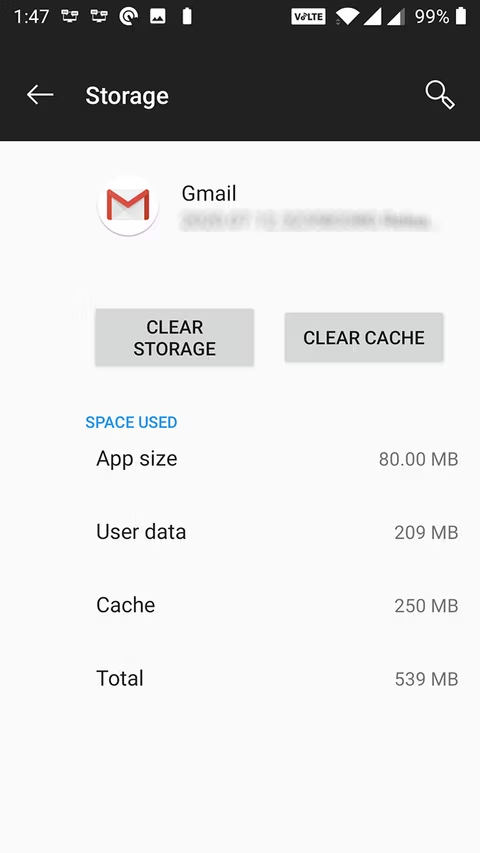
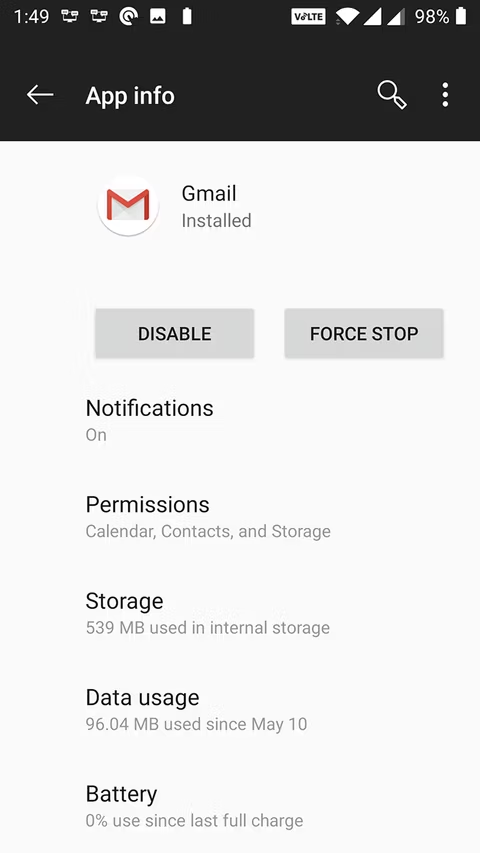
- Tap the Storage option.
- You'll see how much space your email app uses. Tap on Clear Cache to remove cached data. You can also select Clear Storage if you want, but keep in mind this will remove all the app's data from your phone as if you reinstalled it. You'll need to sign in again and perform an initial sync of your messages.
- Open your email app and reconfigure it if needed.
6. Update Your Email App
For best performance, you should keep your apps up to date. If it's been a while since you updated your email app, it's worth looking in the Play Store if an update is available.
New updates fix many existing bugs in the app. If your emails aren't syncing because of such a bug, this will fix the issue for you:
- Launch the Play Store on your phone.
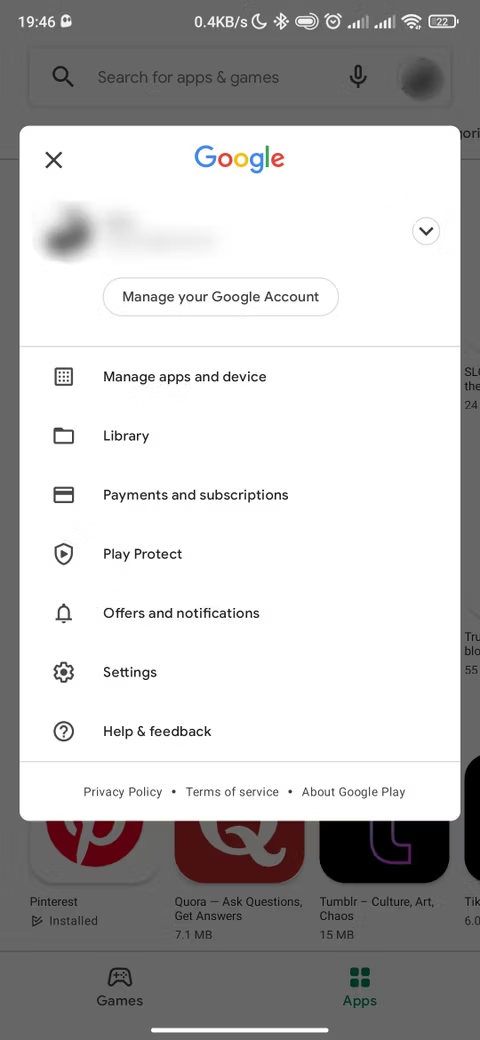
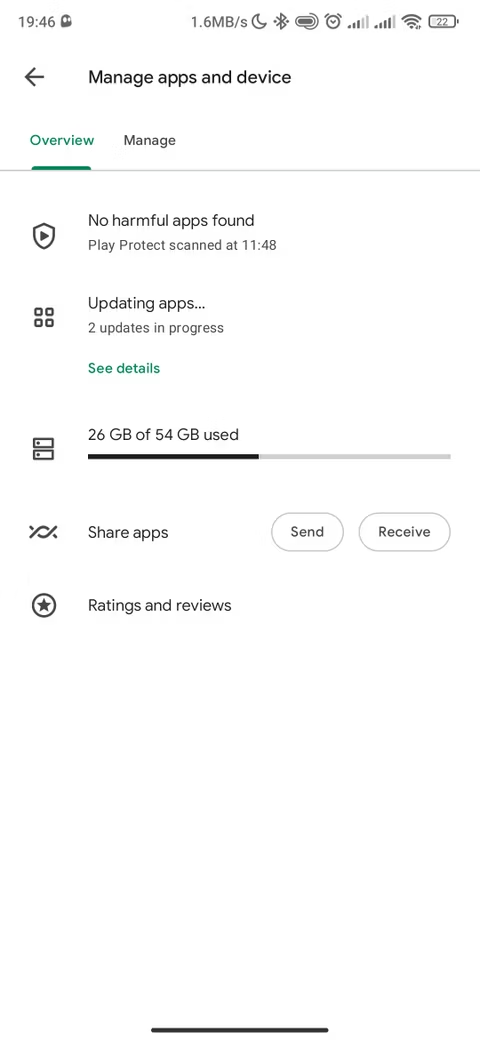
- Search for your email app using the search feature, or tap your account icon in the upper right and select Manage apps and device and tap Updates available to check for apps with pending updates.
- If an update is available, tap Update to download and install the update.
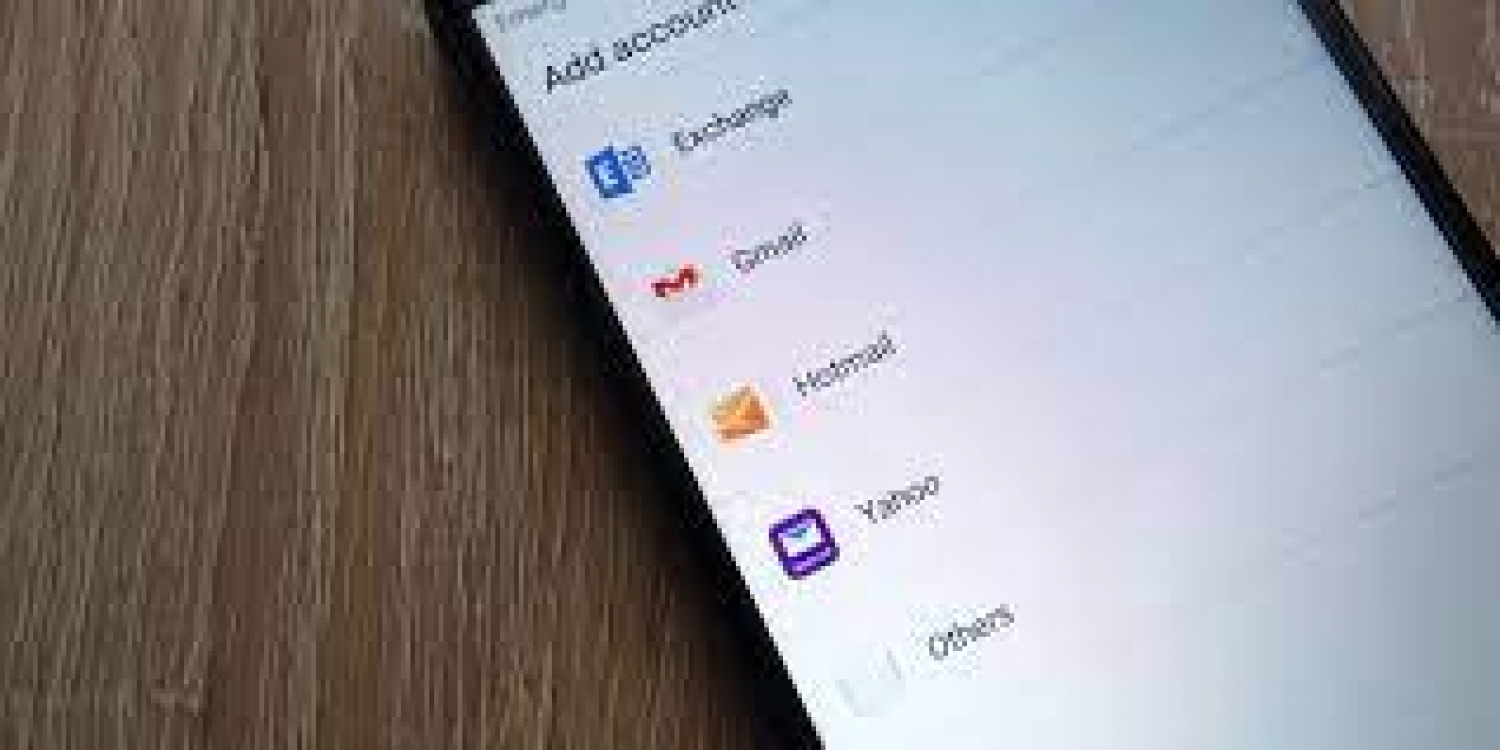
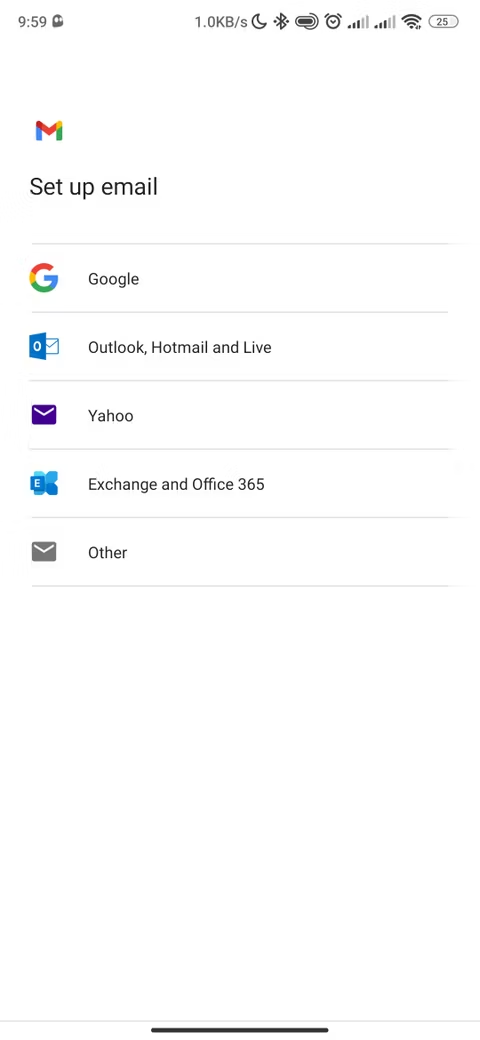
7. Re-Add the Email Account to Your Email App
If your email is not syncing yet, you may have an issue with account configuration. In this case, removing and re-adding your account to the app could fix it. This way, you can confirm the settings to make sure nothing is misconfigured.
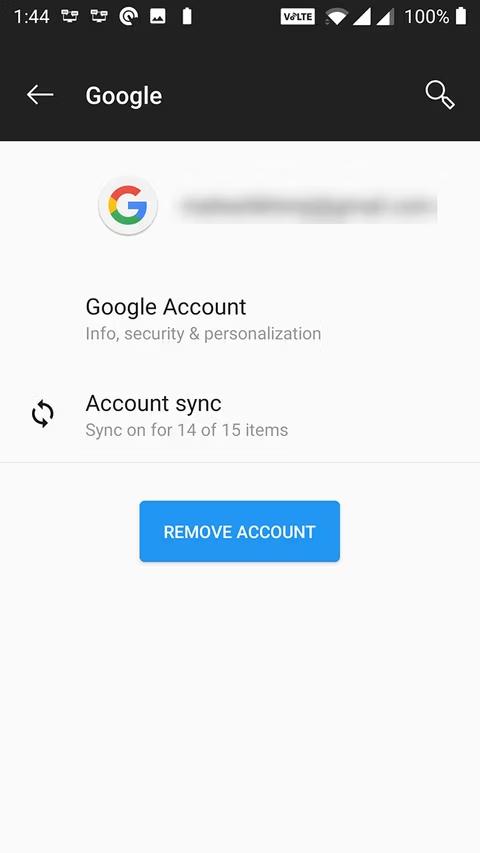
To do this, you'll need first to remove your email account from the app. Use the options in the app to do that; you can also head to Settings > Accounts, tap an account, and choose Remove account to take it off your phone. Then, re-add the same account using the option in your email client.
8. Enable Notifications for Your Email App
Lastly, it could be that emails are syncing just fine, but your phone isn't sending you notifications for them. You can fix this issue by enabling notifications for your email client (specific steps vary from one device to another):
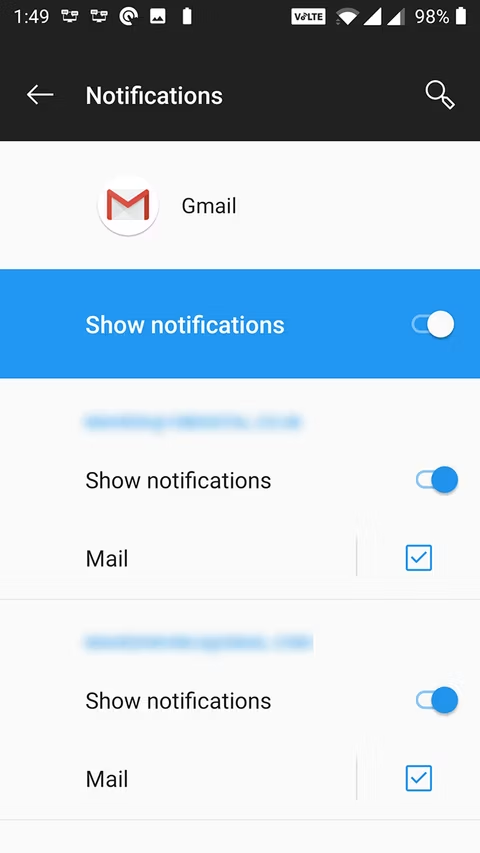
- Head to Settings > Apps & notifications and tap on your email app (use See all X apps if needed).
- Tap the Notifications option.
- Turn the toggle for all Show notifications options to the On position. Tweak the categories below if you like.
Working Efficiently With Your Emails
If you've been missing your emails because your phone wasn't syncing them, you should have fixed the issue using the above methods.
Now that your emails are back up and running, you should make sure you're getting the most out of your email app. Many clients offer plenty of great features to aid with your productivity, so don't be afraid to poke around in the settings.
Source: makeuseof


